This week’s post continues to delve into fundamental movement skills. In the previous edition of our Class in Session blog series, you learned how to improve breathing and footwork. Today, you will learn how to improve and effectively execute:
1. Handhold Use
2. Balance and Resting
3. Movement Initiation
Remember from the Plan it Right blog that movement drills are a part of your warm-up, allowing you to practice new skills while you are fresh. Climb any grade you need to in order to master new skills before applying them on more challenging terrain.
Think of a climber whose movement skill you admire: at their limit, do they shake, wobble, and kick, or do they move with control and precision right to the moment of falling?
1. Handhold Use
In the previous article, you learned that precise footwork comes through learning what part of your shoe to stand on and by doing the Silent Feet drill. Learning the precise use of hand-holds will help you solve the upper half of the wall-contact equation.
To move more continuously and preserve valuable forearm strength, a climber needs to quickly determine the hold type, identify the best way to grab it, grip it just enough to hold on, and then do the next move.
There are five types of basic hand-holds: jugs, slopers, pockets, pinches, and crimps. There are three basic orientations with which you can grab any hold (aside from a standard downpull): under-clings, side-pulls, and gastons. A gaston is any time your hand is internally rotated on a hold, when externally rotated, you are sidepulling.


Each hold has a “most usable surface.”
If you look at the bolt-hole of a huge jug hold and say, “wow, look at that great pocket!” you either already climb 5.15 or you are failing to see the in-cut handle on the top of the hold. It is often best to grab a hold perpendicular to its most usable surface in order to create the greatest mechanical resistance against the most usable part of the hold:
Put it to Practice: Glue hands is an exercise to improve your hand-hold use.
High-quality handhold use also begins with your eyes: Look at each handhold as you did for footholds in the Silent Feet drill, not looking away until your hand is precisely where you want it on the hold.
The “glue” part of Glue Hands means that your hand stays exactly as you first placed it until you move your other hand or one of your feet. This does not mean you need to have an equally strong grip on all hold types. It means that, with practice, you will learn what little strength it takes to stay on a difficult hold just long enough to adjust another part of your body and complete a move.
Climbing this way helps you reduce excessively repositioning your hand on a hold, and it prevents excessive “shopping” for holds, frantically grabbing every hold in every way instead of looking ahead and deciding how best to grab it in the first place.
Use larger, easier holds, then progress to more difficult ones. Challenge yourself to where you slip off of some holds and then find a way to reposition your hands more effectively. This is the first step in working out an effective sequence of handholds.
Balance is easier to achieve from high-quality wall-contact. To achieve balance is to know how to rest.
2. Balance and Resting
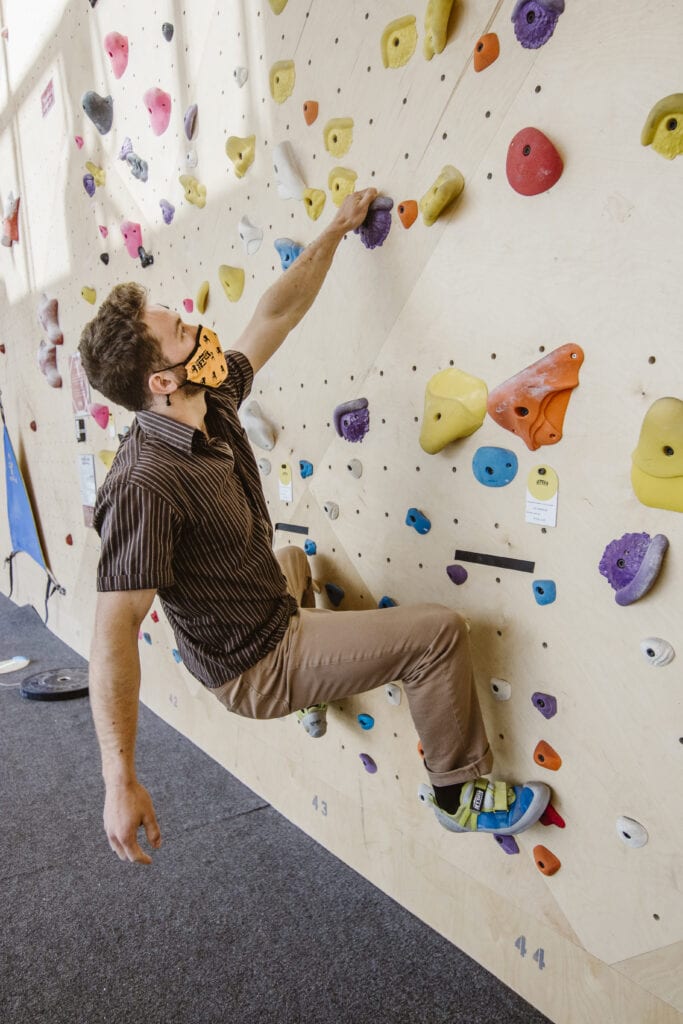
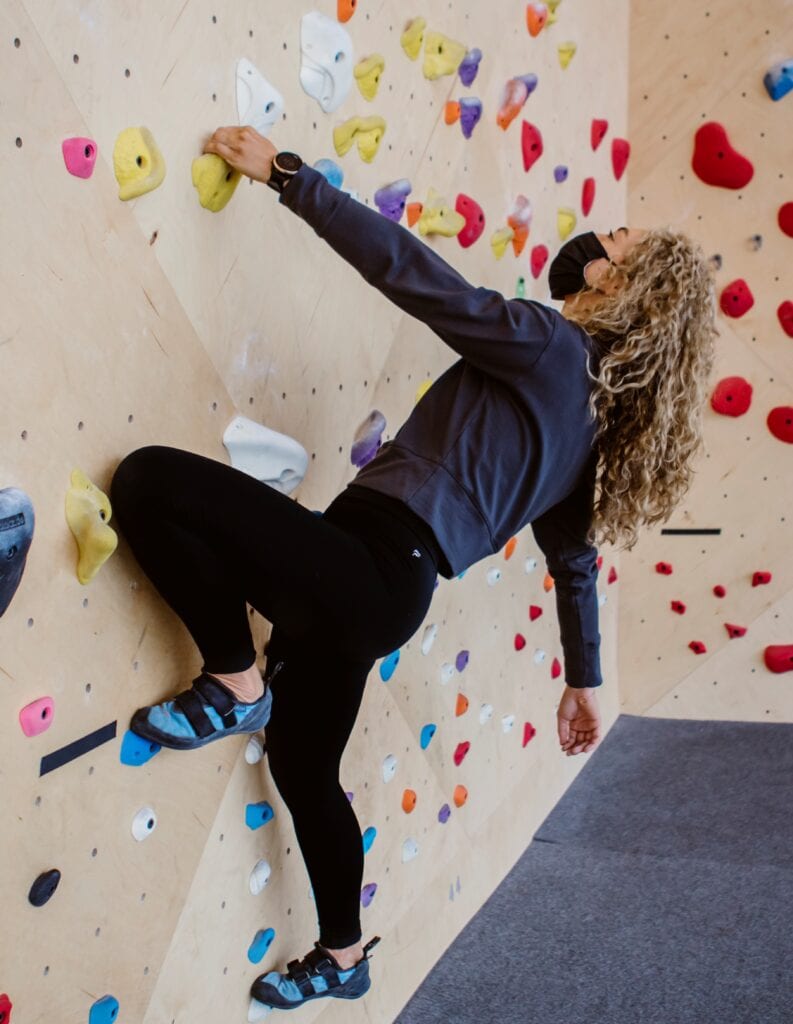
Stable balance comes from having your hips (center-of-gravity) over your feet (base-of-support). When this equilibrium is reached, you stay on the wall with one arm while the other arm is shaking-out, chalking up, or clipping your rope to the next quickdraw.
Stable balance creates a triangle via your points of contact: A foot on each side of your hips make the base, and an arm extended above you marks the top point. When your hips are inside the triangle, you are in balance over the baseline created by your feet. Two rest positions to practice from this orientation are the Monkey-Hang and the Rodeo Rest. First, practice them straight-on with your hips facing the wall, then practice them with your feet and hips pivoted to one side.
Put it to Practice: Monkey hang
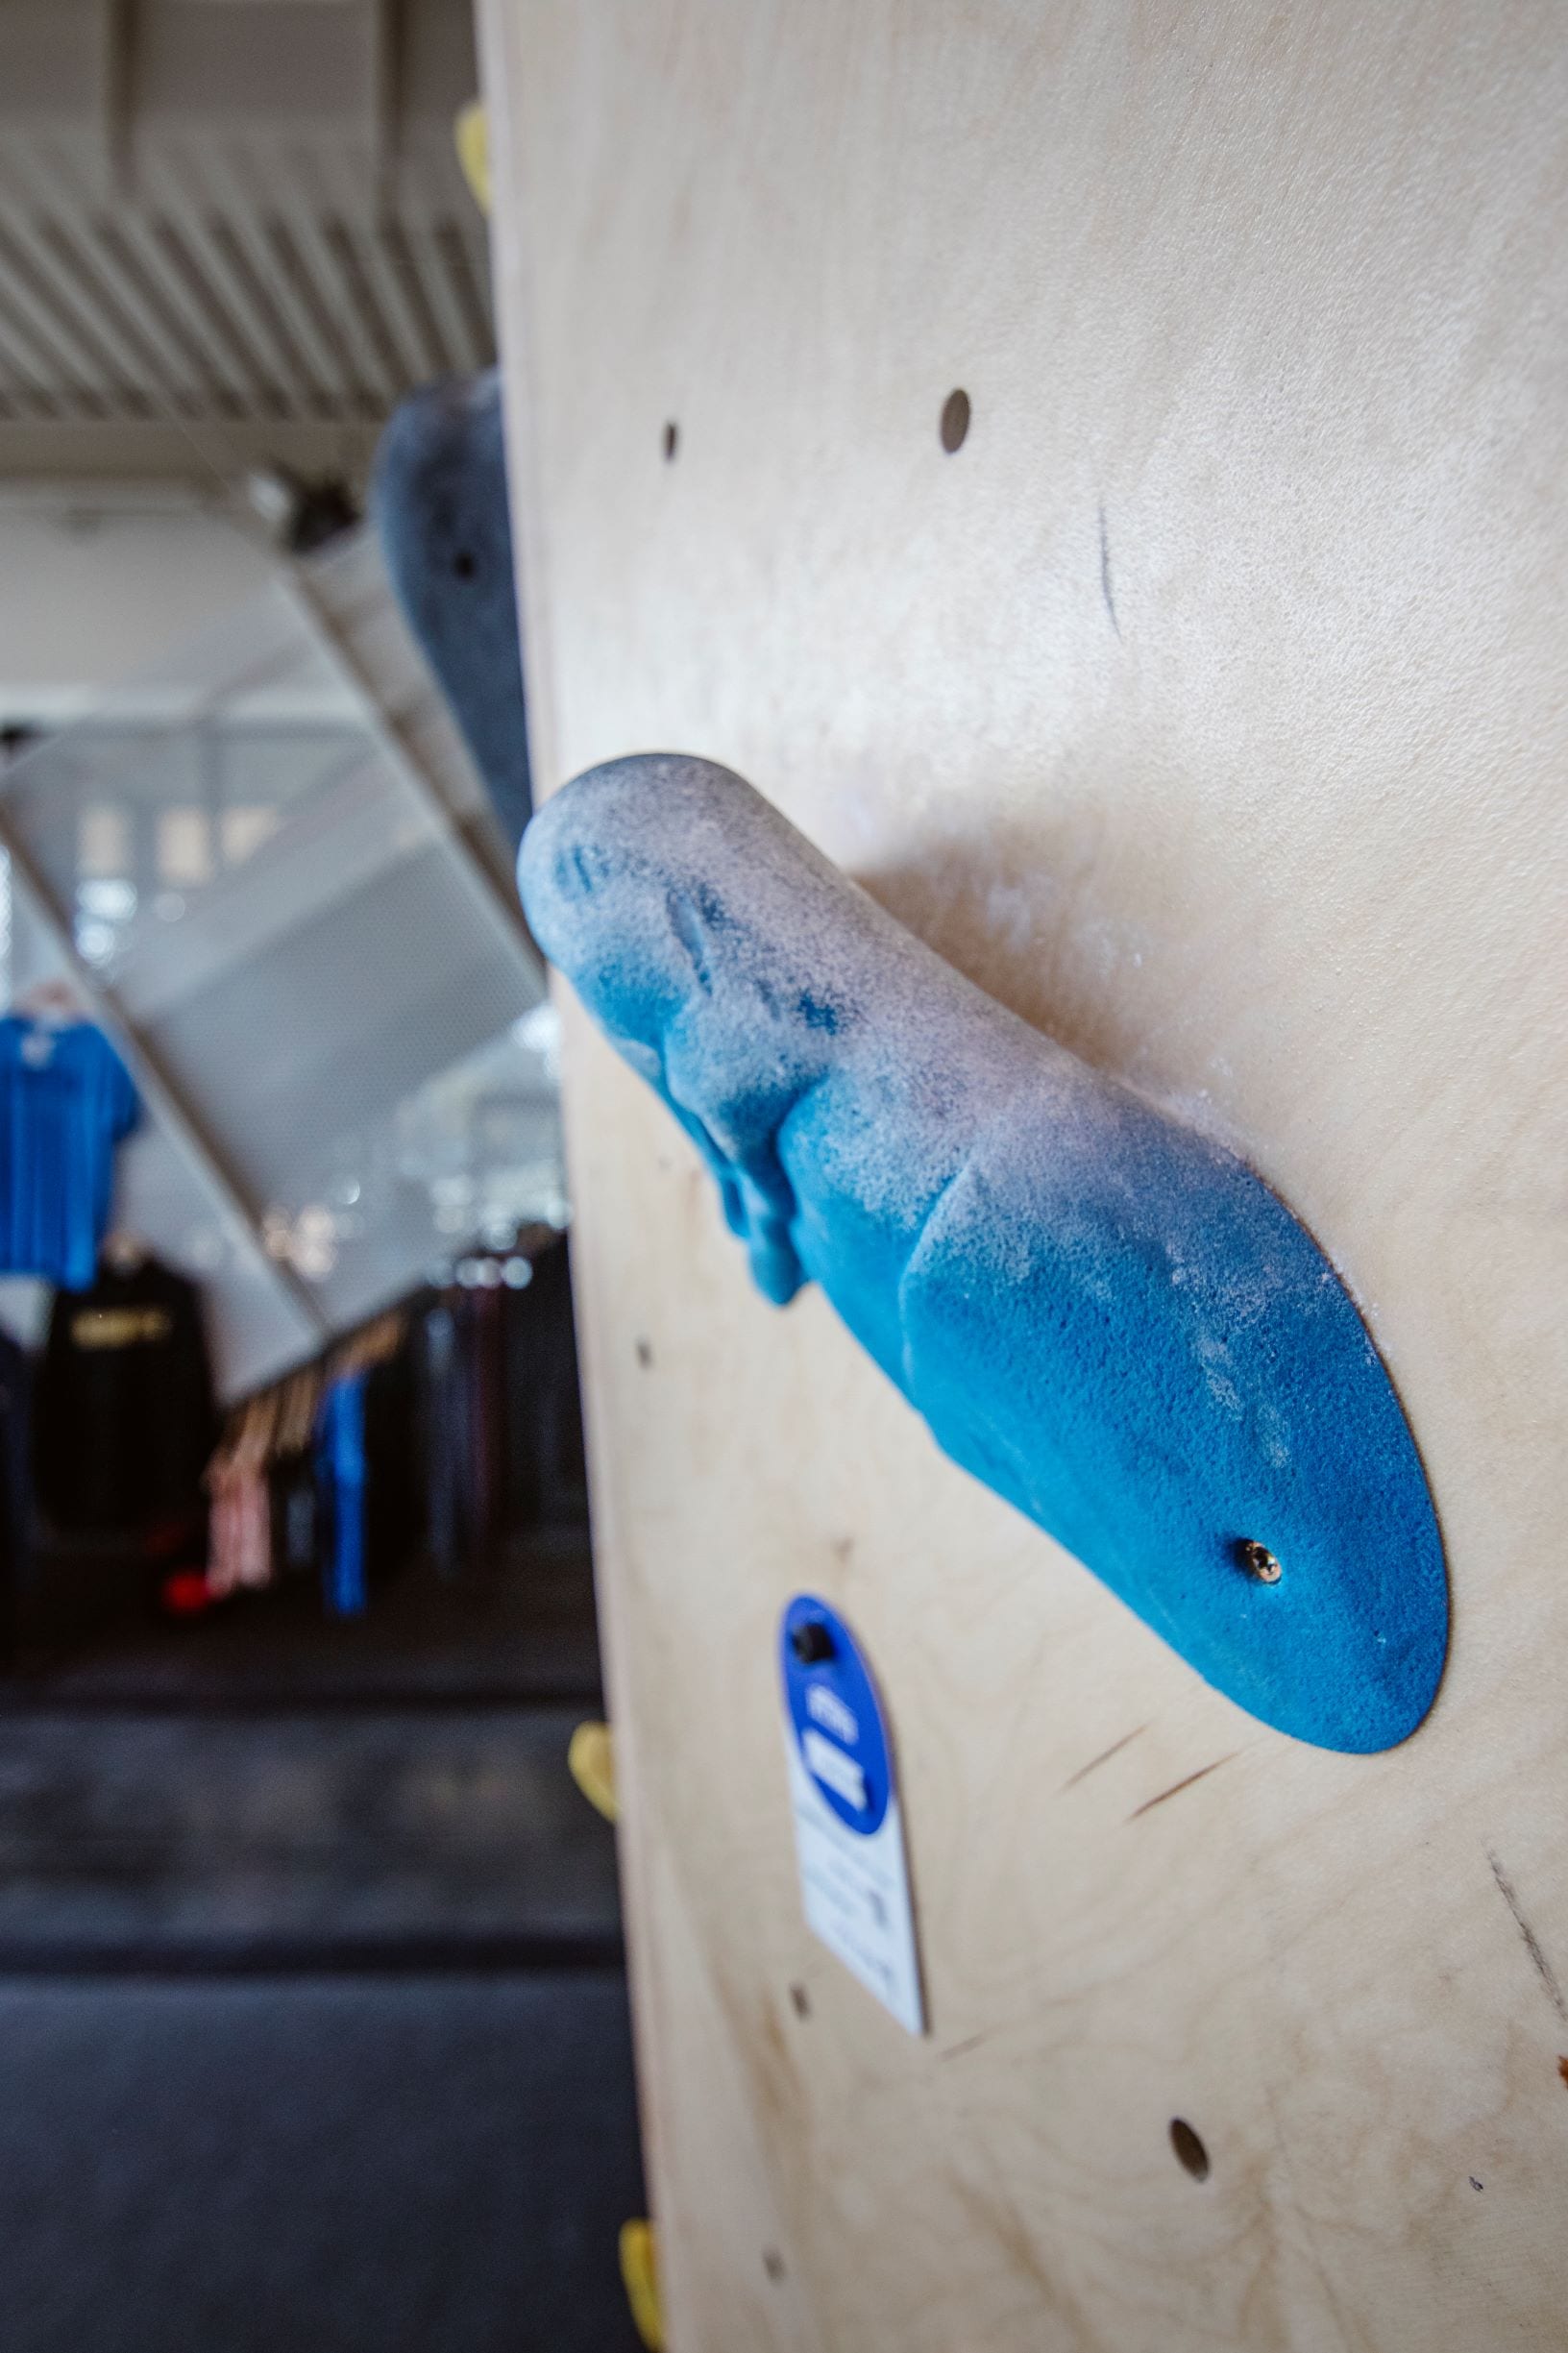
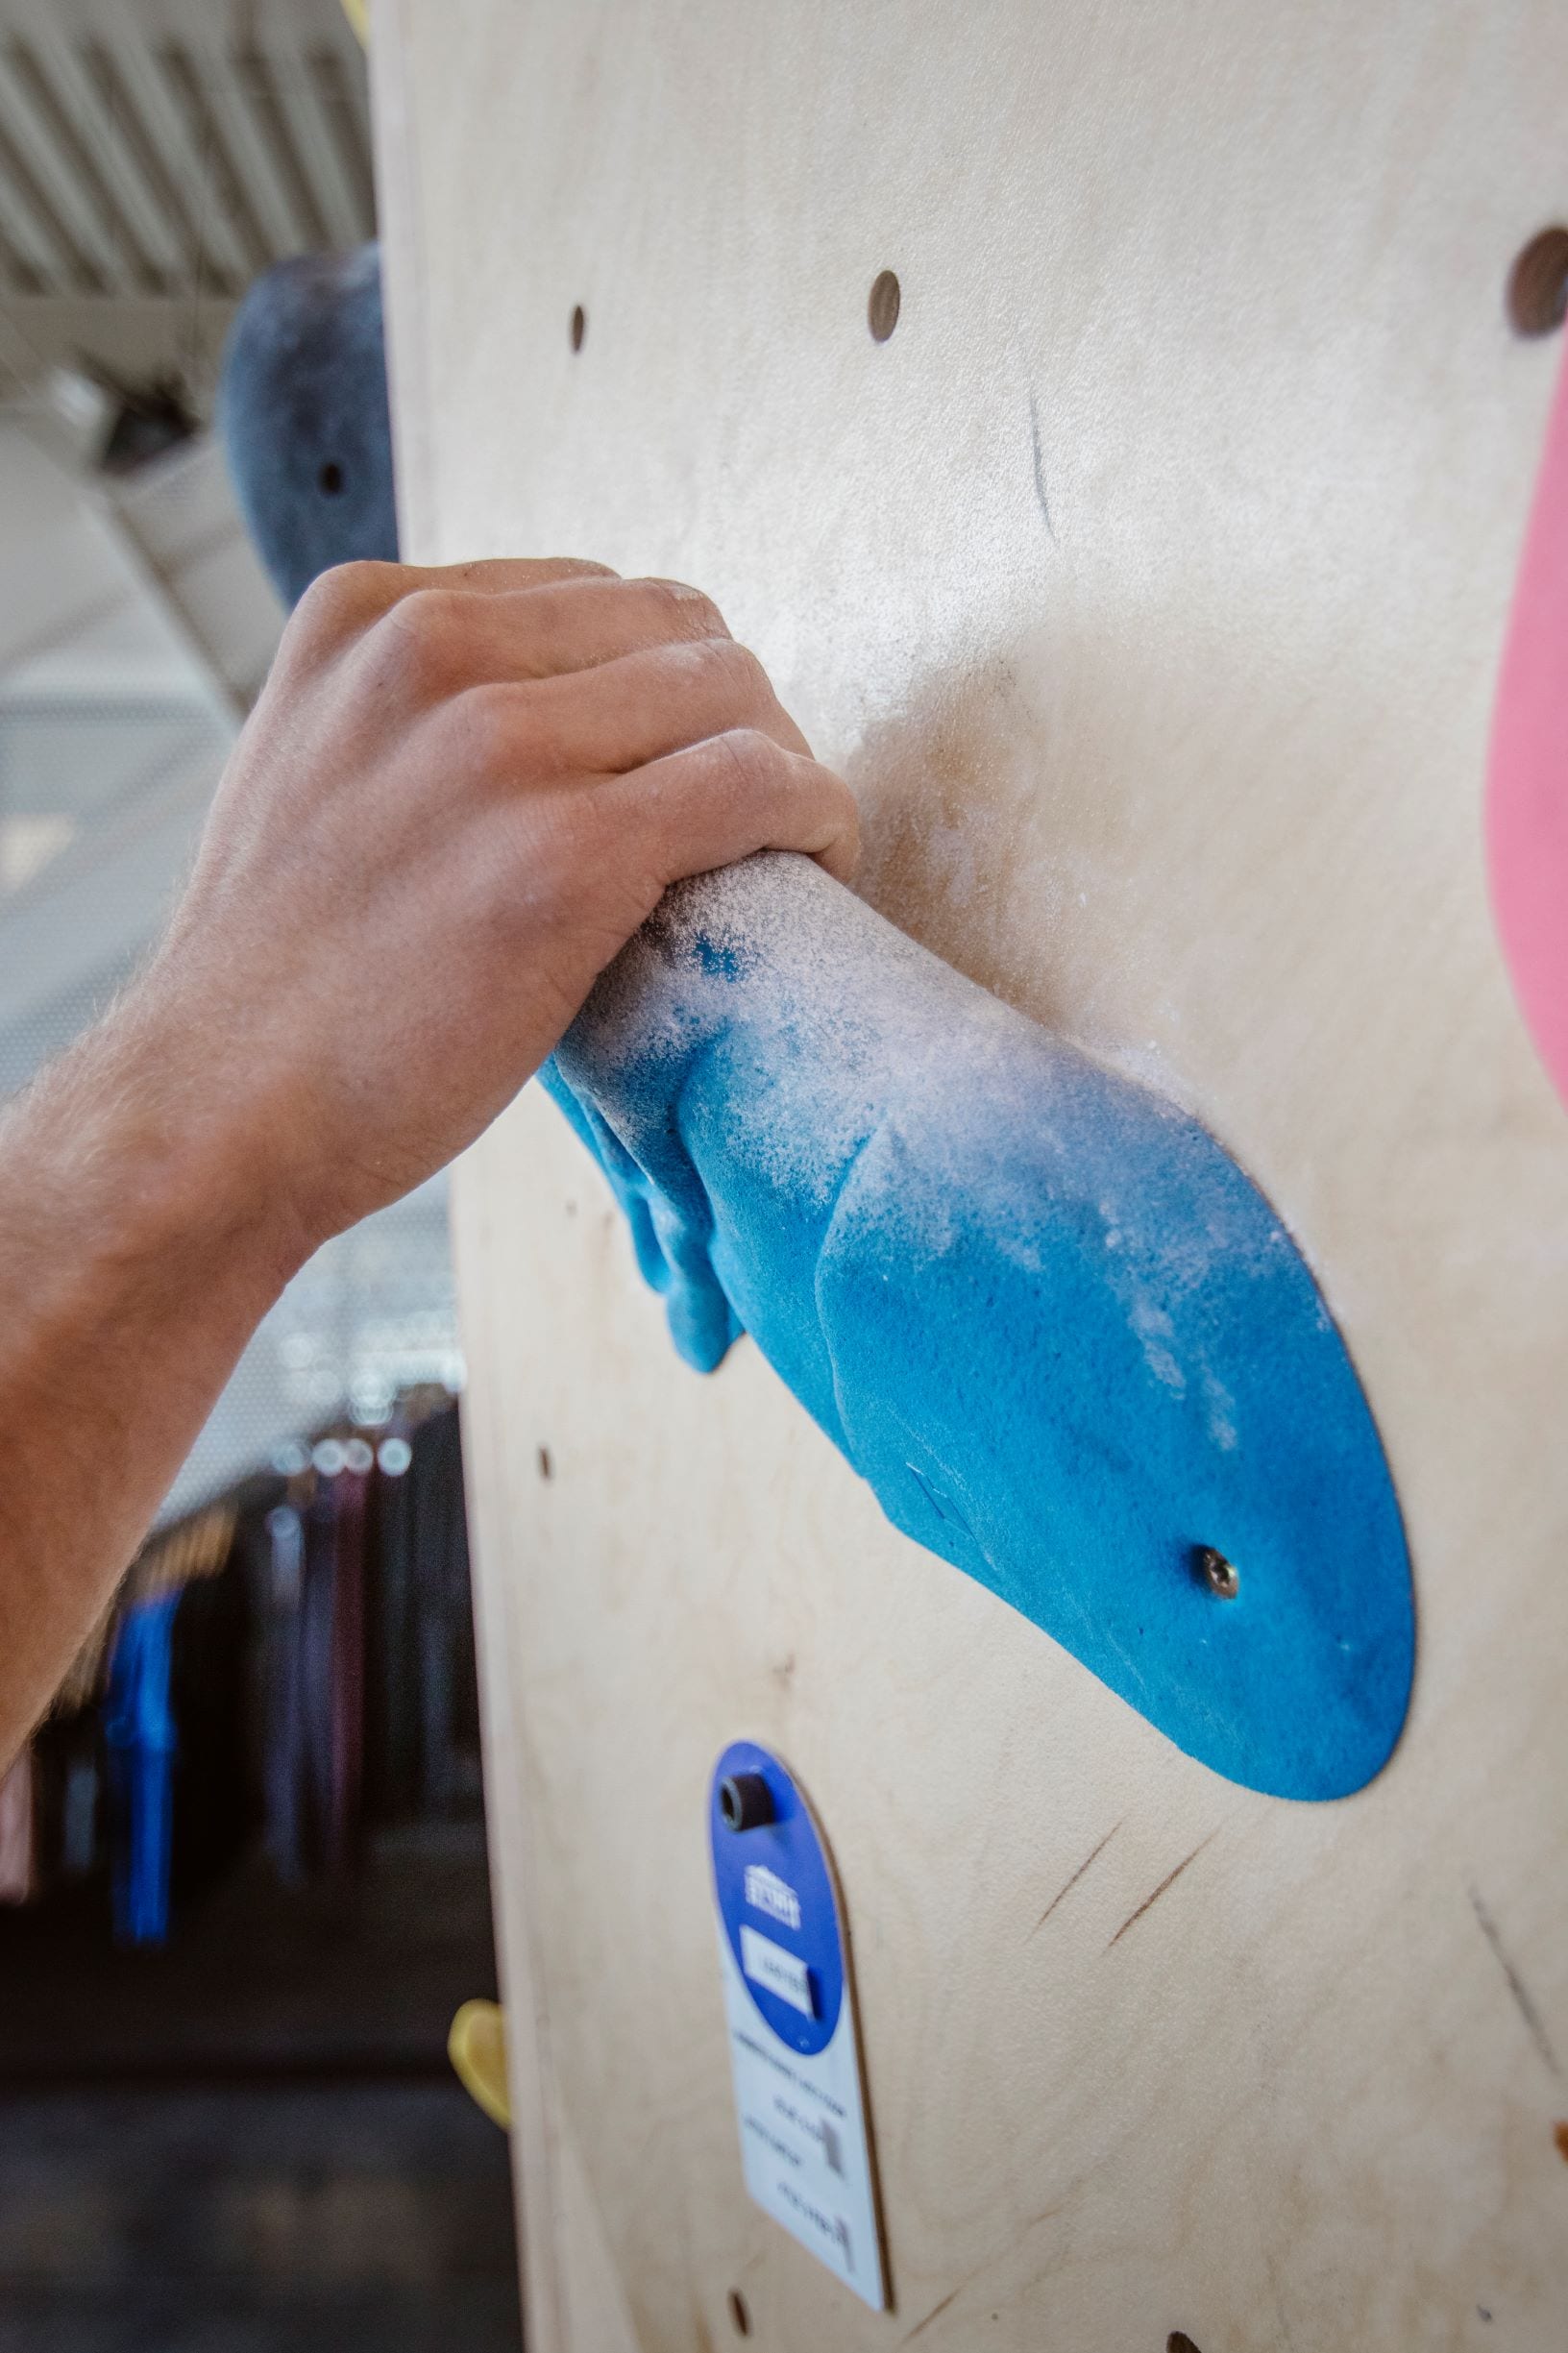
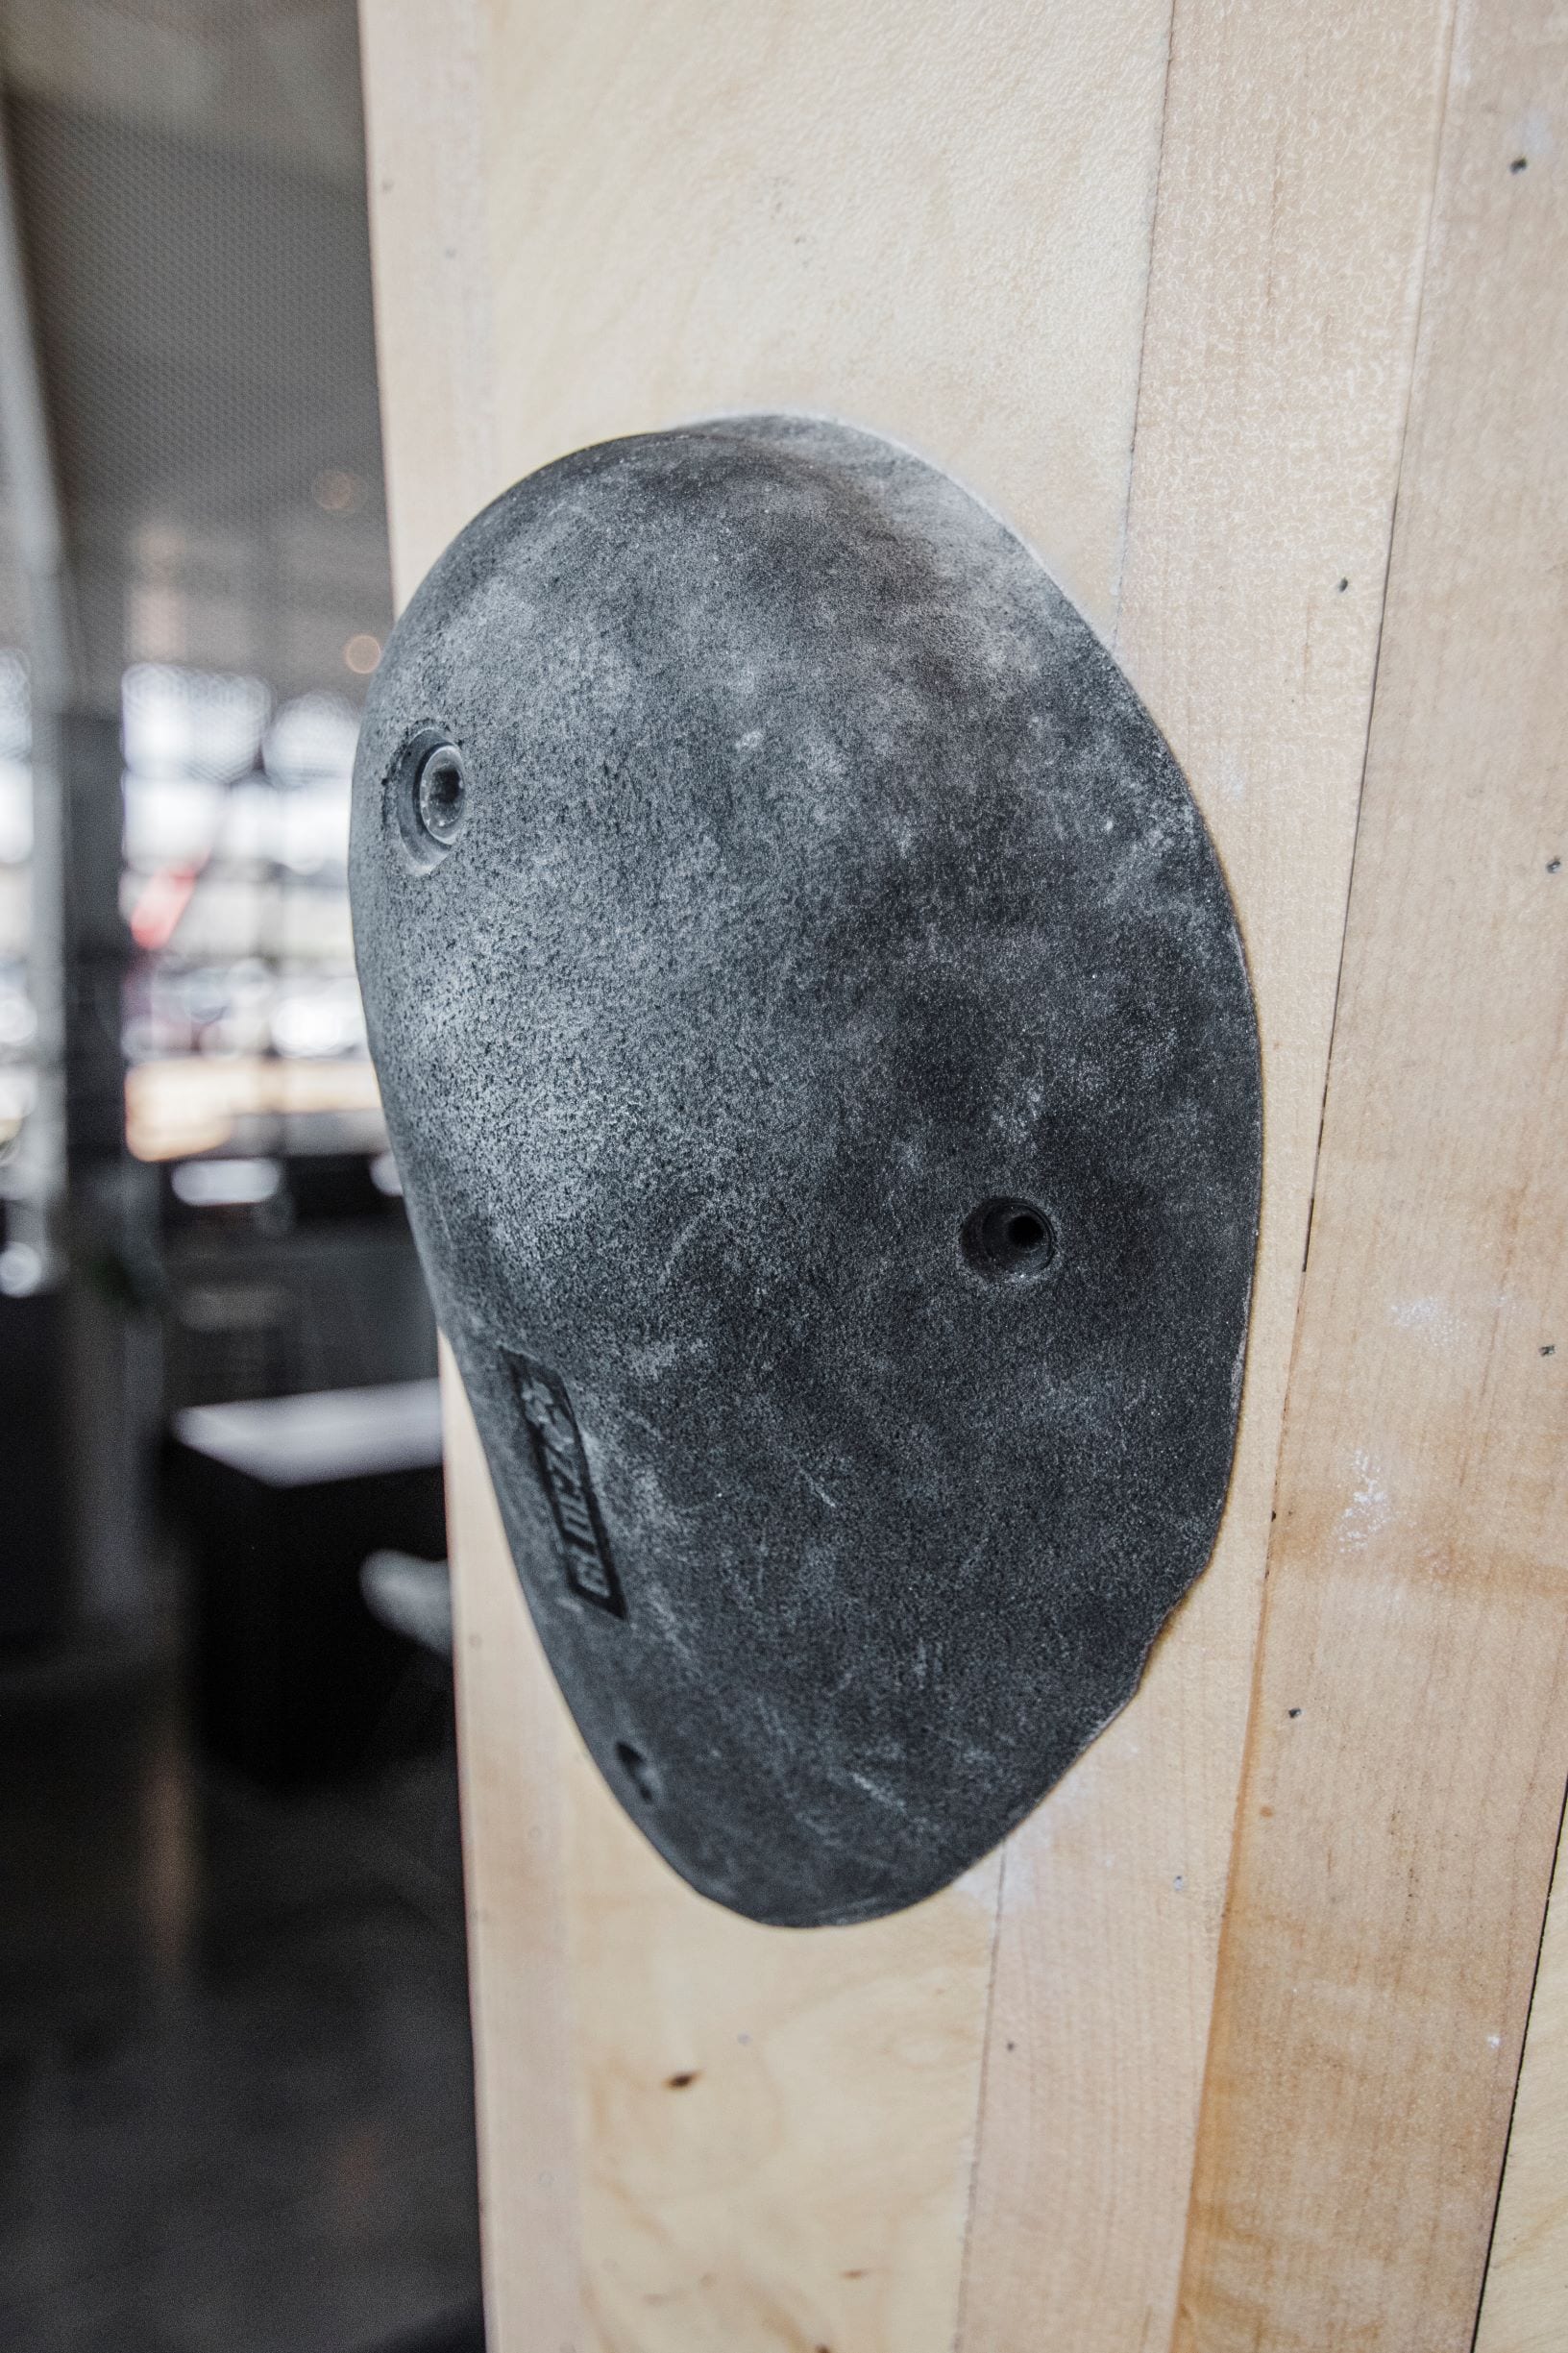
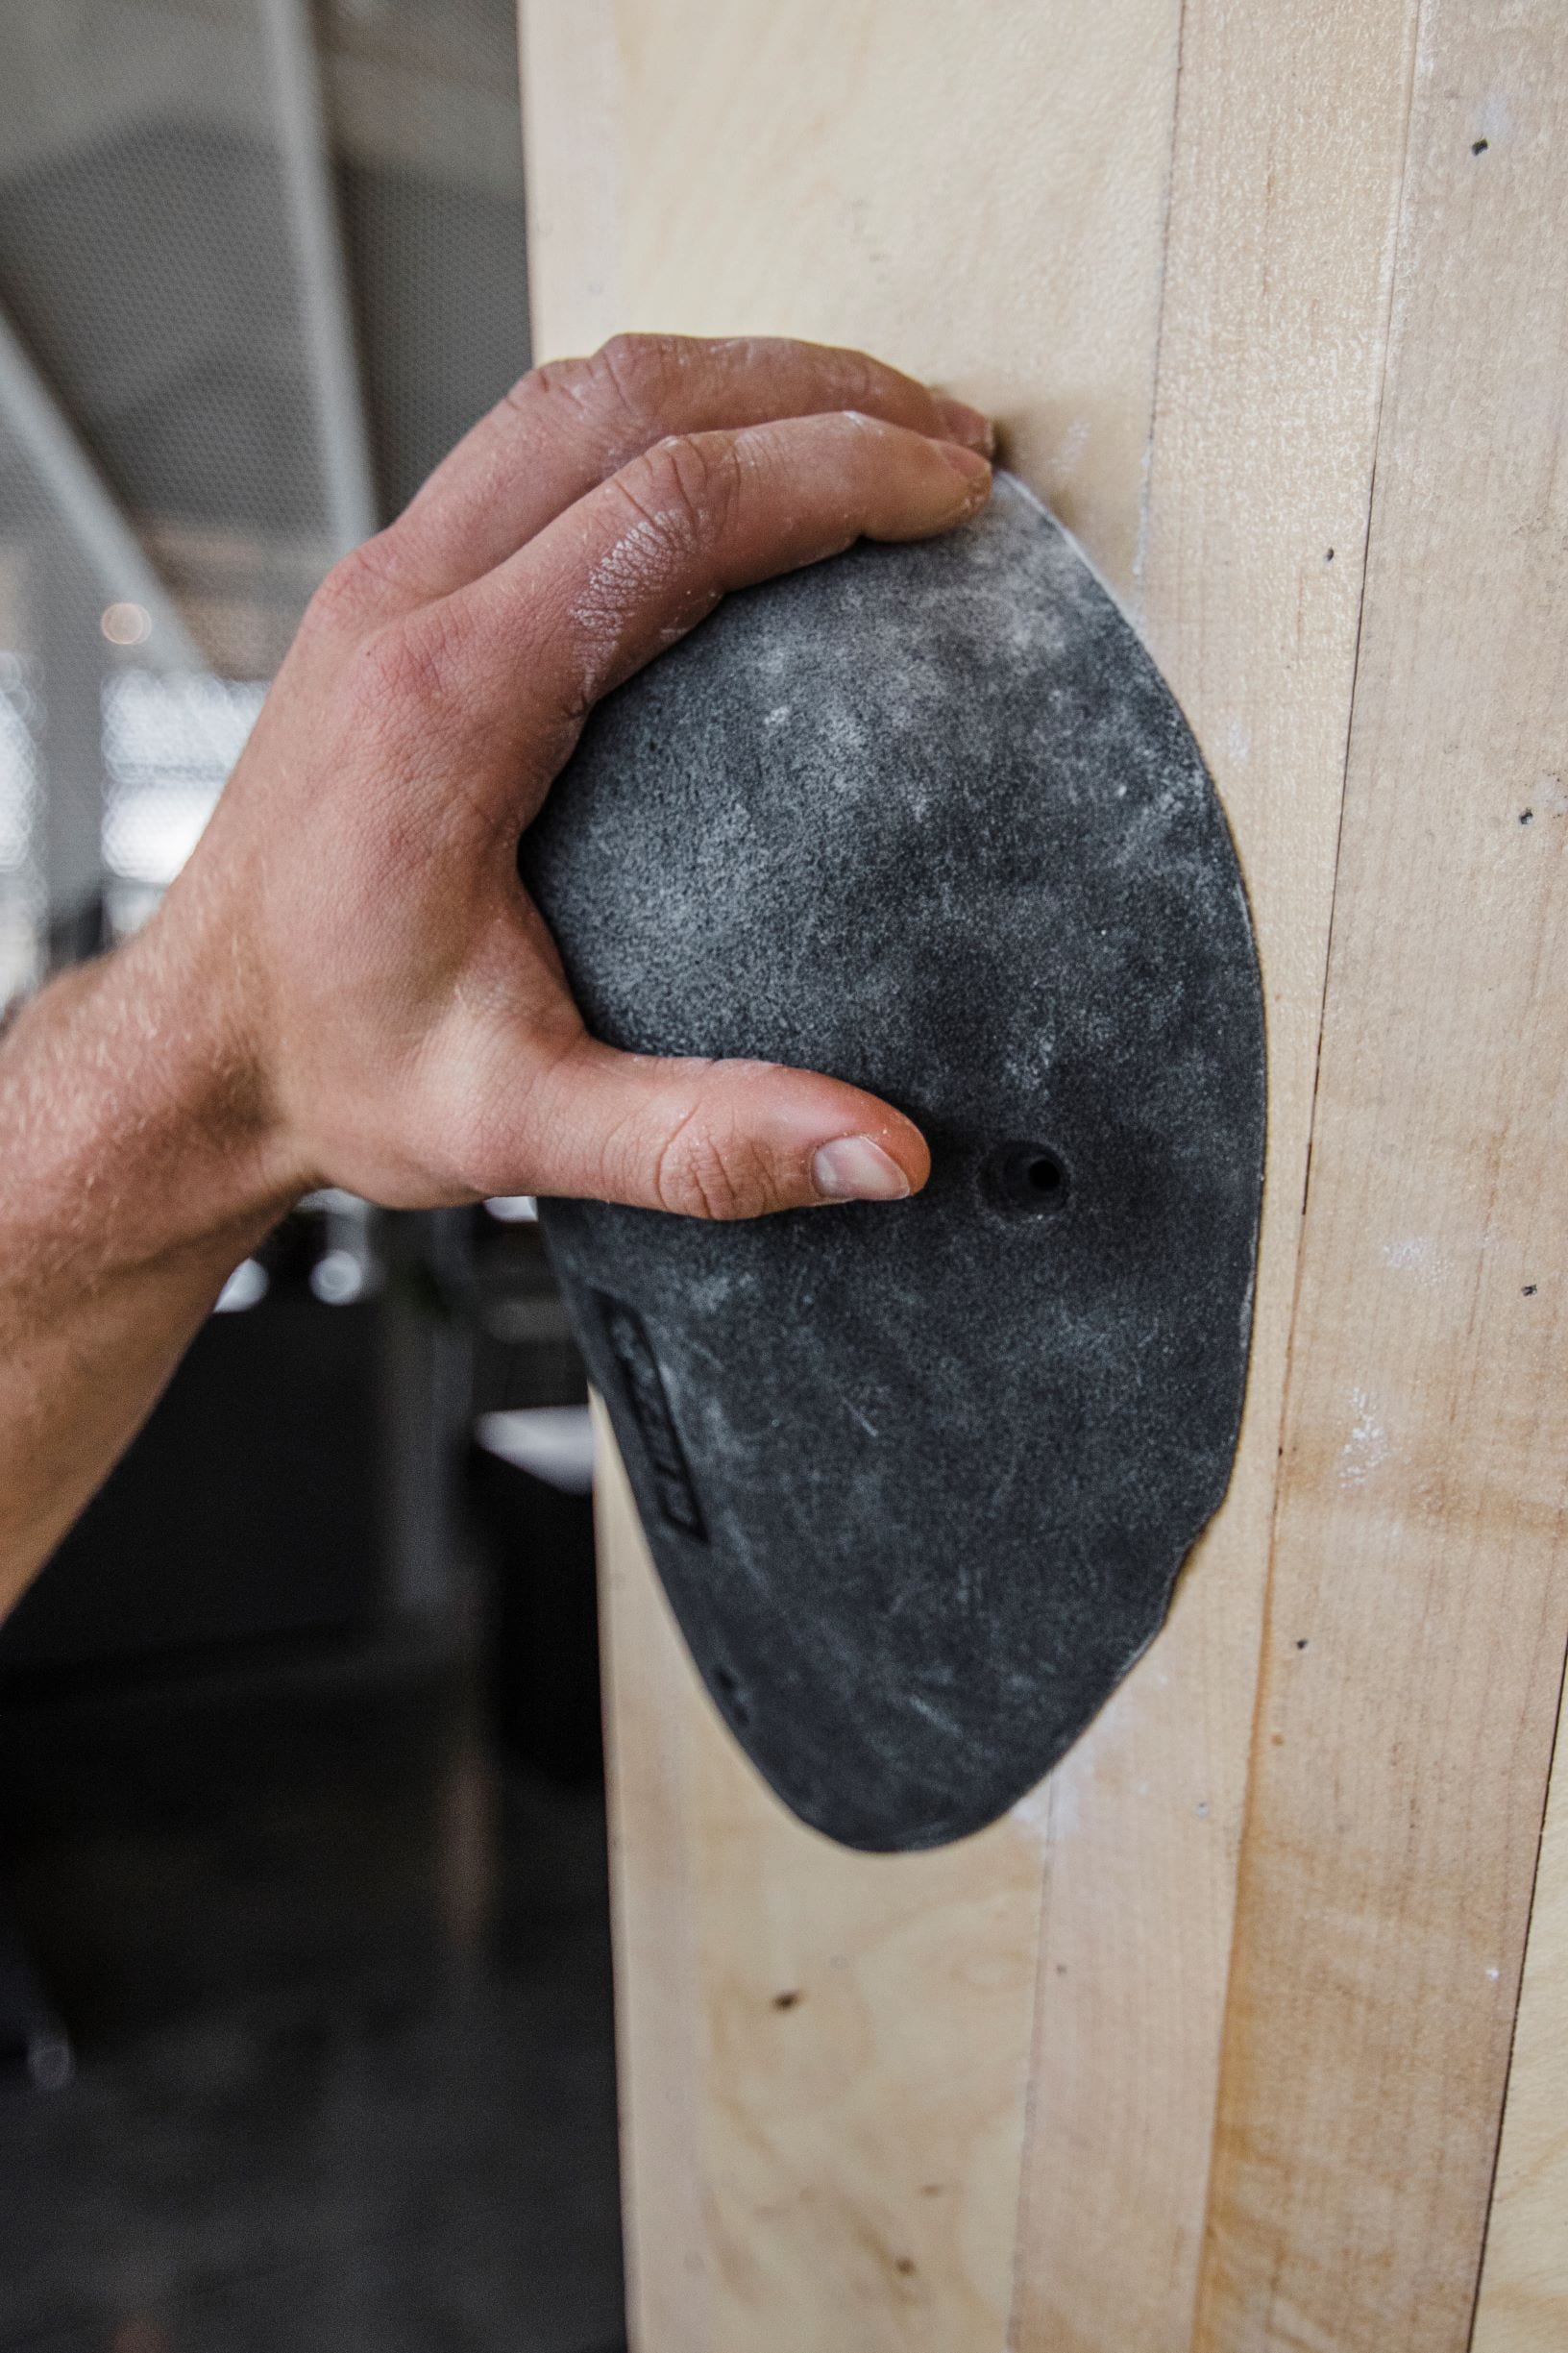
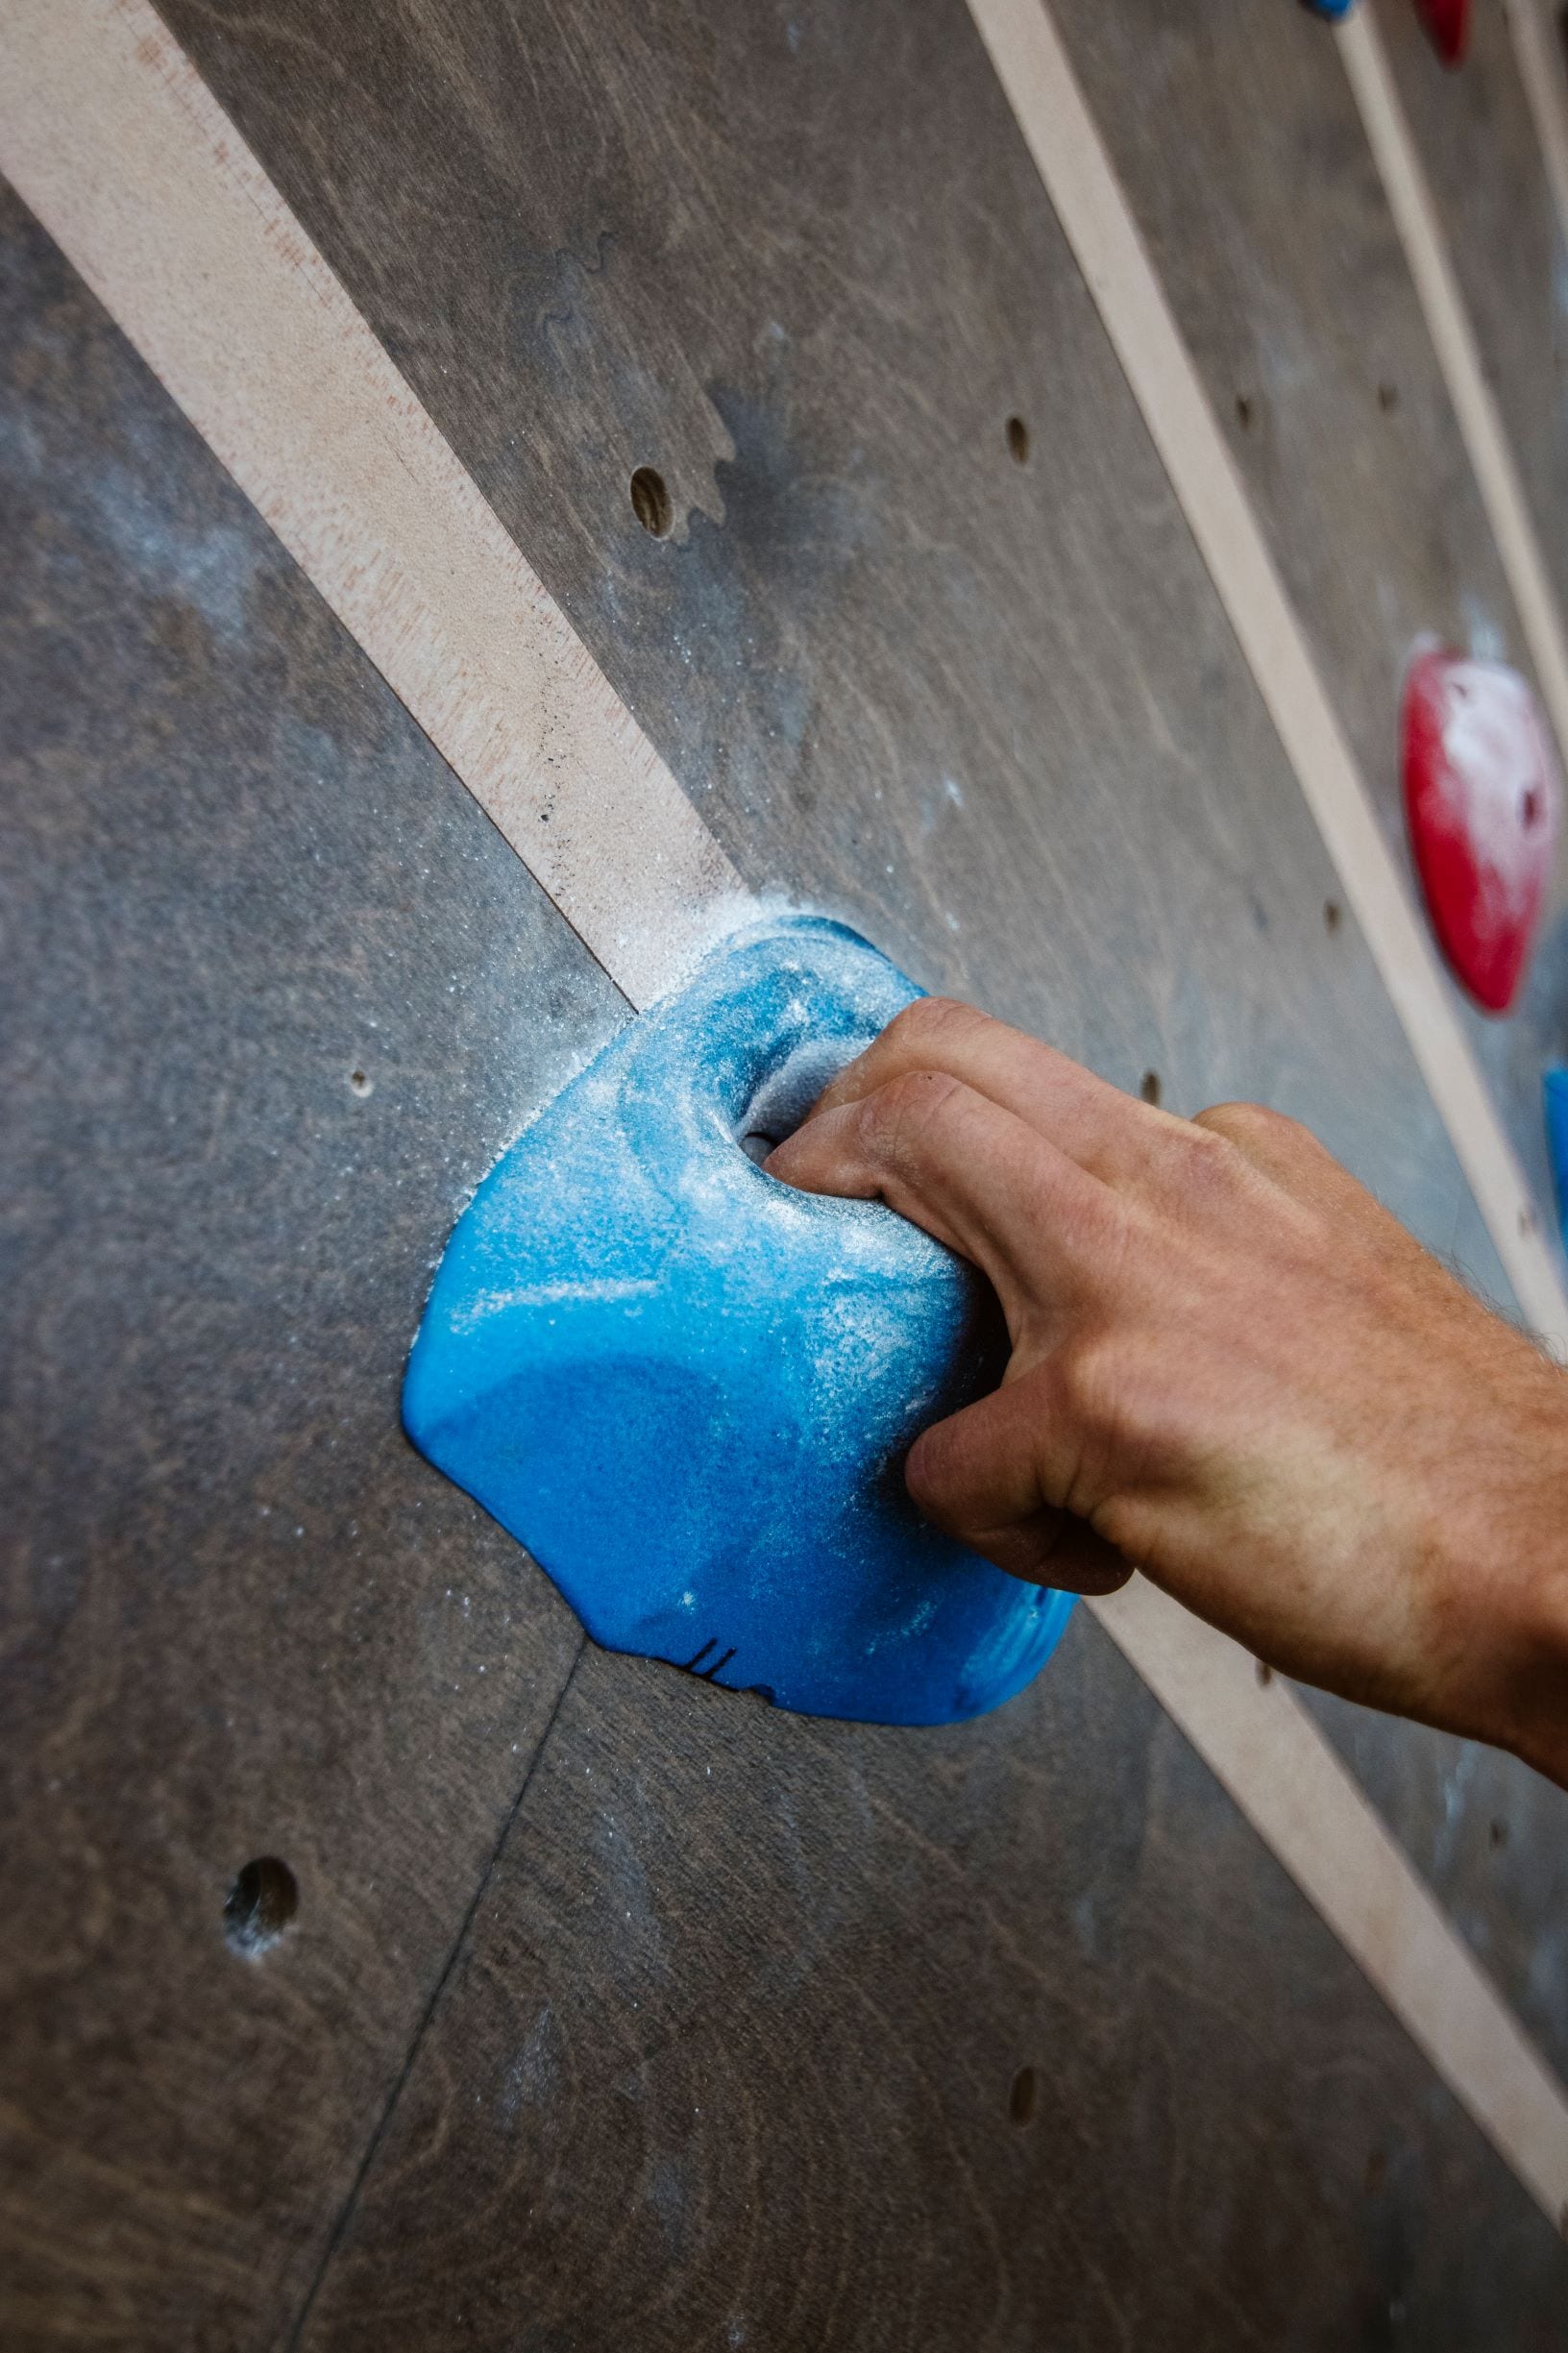
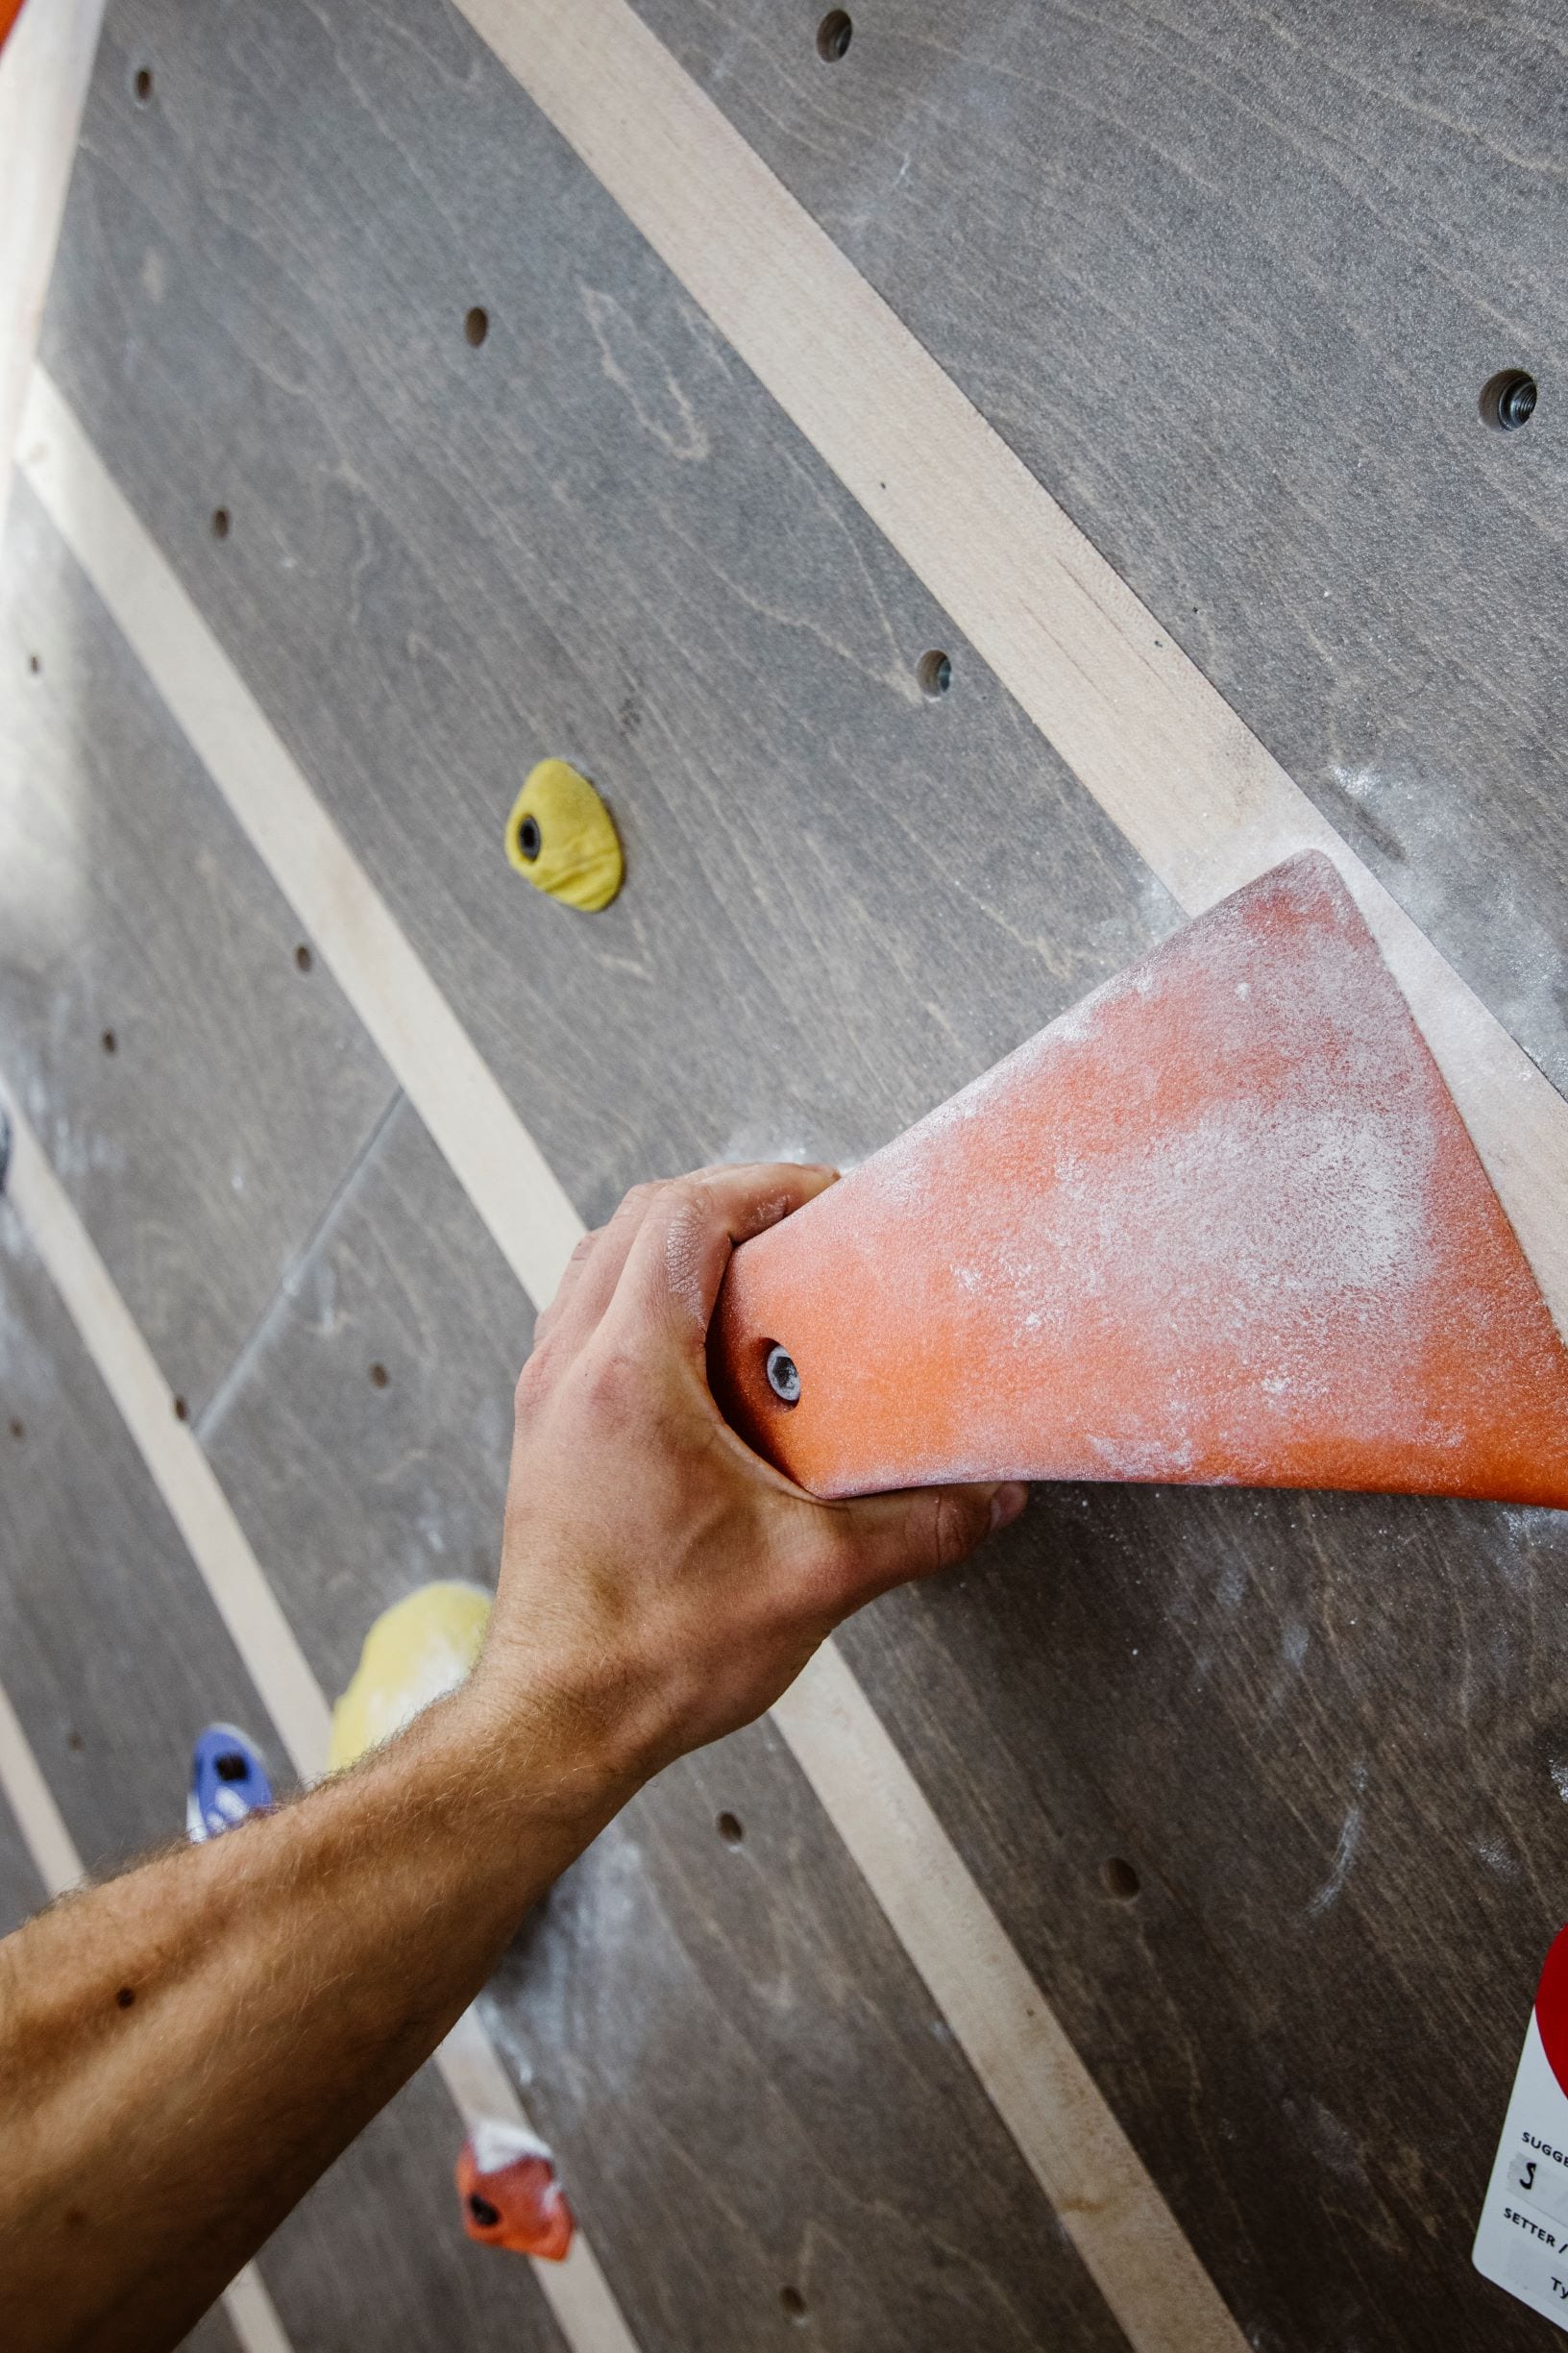
Using large handholds about shoulder-width apart, position the inside edges of your feet on holds that are more than shoulder-width apart.
Settle your weight onto your feet, lower your heels, open your hips (move your knees further apart), and sink low. Extend your arms and bend your knees until your hips are closer to both the wall and your feet.
Breathe and relax. Let go with one hand to shake out and rest it. Adjust your hip position or foothold choice until this posture feels most relaxing. Now try switching to your other arm and repositioning.
Put it to Practice: Rodeo rest
Start as for the Monkey Hang, with large handholds at shoulder-width apart and the inside edges of your feet a little more than shoulder-width apart.
Settle your weight onto your feet, lower your heels, and slightly bend your knees. Now, however, push your hips forward, so they are close to the wall and up over your feet.
With your hips still close to the wall, straighten your arms and arch your back while engaging your shoulder-blade muscles to push your chest forward.
Breathe and relax. Let go with one hand to shake out and rest it. Adjust your hip position or foothold choice until the position feels relaxing. Switch hands and repeat the previous steps.
3. Movement Initiation
Balance not only allows for efficient resting but creates a stable platform from which to generate your next move. If a stance has poor balance created from shaky wall contact, attempting the next move will require great effort, or it may exploit the weakness of your position and throw you off the wall.
Put it to Practice: Initiate movement from your lower body by swinging your hips and pushing with your legs!
Return to the Monkey Hang position as described above.
Initiate a small hip swing forward from the bottom of the Monkey Hang and push as hard as you can with your legs as you reach up. This should help you reach a hold far above the one your other hand was resting on, and it will do so with less energy than pulling up solely with your arm.
Do the same from the Rodeo Rest Position, though you may need to first move your feet up to higher foot holds. Remember to arch your back as you reach.
Next up, Moving Skills Part III: The Fundamentals of Turning, Flagging, and Static vs. Dynamic Climbing.
By David Farkas
Adult Program Manager
Challenge yourself. Have fun, and please email David with any questions at david.farkas@thefrontclimbingclub.com.
